

Installation And Calibration Guide After Replacing Parts: Avoiding Common Mistakes That Cause Immediate Failure
Oct 28, 2026
After replacing copier parts such as the toner cartridge, drum unit, developer unit, transfer belt unit, and fuser unit, many technicians have encountered the frustrating situation where "installing new parts actually makes things worse": error messages appear immediately after installation, prints come out with color shifts, paper jams occur frequently, or the new parts fail almost immediately. Most of these issues stem not from the quality of the parts themselves, but from errors during installation and calibration. Mastering key steps-such as transfer belt unit tension calibration, drum unit photosensitive layer protection, fuser unit installation clearance, and developer unit initialization-can significantly reduce the rate of rework. Dongguan Aige Technology has compiled this installation and calibration guide based on extensive hands-on testing experience.
When installing the Transfer Belt Unit, be sure to tighten the tension mechanism according to the manufacturer's specified torque values. If the tension is too loose, the transfer belt will slip, causing image misalignment; if it is too tight, it will accelerate belt stretching and deformation, resulting in color breaks and color shifts. After installation, first perform the machine's automatic tension calibration or manual reset procedure, then print a test page to verify four-color registration. When adapting to Kyocera, Ricoh, or Konica Minolta color models, you must also verify the contact point between the transfer roller and the belt to prevent installation errors that could trigger system errors.
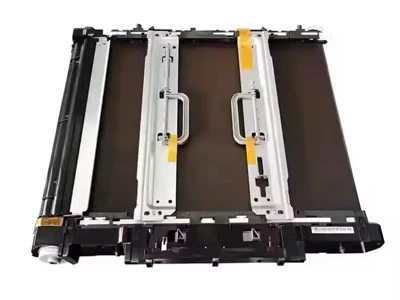
II. Protecting the Drum Unit's Photoreceptor Layer: The Number One Cause of Immediate Failure After Installation
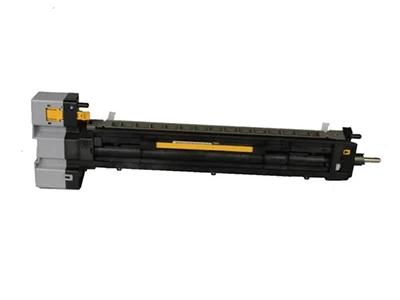
The surface of the Drum Unit's photoreceptor drum is extremely sensitive. During installation, never touch the photoreceptor surface directly with your fingers, as oil residue and scratches can directly cause fixed black lines or a gray background. The correct procedure is to hold the drum by the metal or plastic parts at both ends to prevent premature removal of the light shield, which could expose and damage the photoreceptor layer. Before installation, check that the grounding contact and the charging roller are clean. After installation, run a cleaning page or the initialization program to allow the device to automatically calibrate the charge parameters.
When installing the Fuser Unit, ensure that the clearance between the upper and lower rollers meets specifications. Improper clearance can result in poor fusing, paper wrinkling, or even paper jams. After installation, check that the paper exit sensor has reset. After replacing the Developer Unit, you must perform a carrier initialization or developer preset procedure to allow the device to re-establish the toner-to-carrier ratio. Skipping initialization and printing directly can easily result in uneven background gray and inconsistent development. Additionally, after replacing the Developer Unit, it is recommended to simultaneously check the toner discharge status of the Toner Cartridge to avoid compound faults caused by abnormal toner supply.
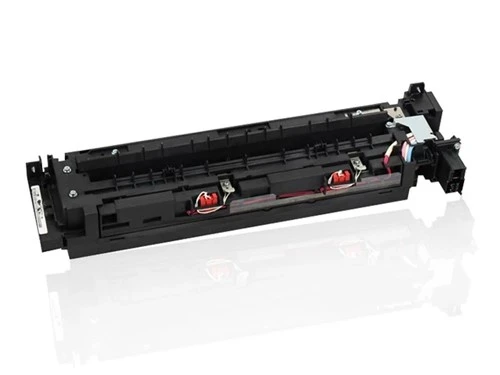
IV. Post-Installation Testing and Supplier Selection: The Key to Reducing Rework Rates

After installation is complete, perform the following steps in order: device self-test, black-and-white/color test pages, and a continuous multi-page print stress test. Only deliver the device to the customer after confirming there are no error messages, no background gray, and no color deviation. When selecting parts, prioritize suppliers that provide installation guides and have performed full-system on-machine testing prior to shipment, as this can significantly reduce installation risks. Dongguan Aige Technology specializes in manufacturing toner cartridges, drum units, developer units, transfer belt units, and fuser units compatible with mainstream printer models. All products undergo full-machine burn-in testing before shipment and come with installation and calibration support to help service providers reduce rework rates.
In summary, replacing parts is not as simple as "removing the old and installing the new." The tension of the transfer belt unit, the photosensitive protection of the drum unit, the gap of the fuser unit, and the initialization of the developer unit-each step affects the lifespan of the parts and the print quality. Only by following standard installation and calibration procedures and selecting a stable supply source with testing guarantees can you avoid parts failing immediately after installation. Dongguan Aige Technology welcomes service centers, leasing companies, and wholesalers worldwide to request samples, discuss bulk purchases, and obtain reliable parts and technical support.
You Might Also Like
-

Maintenance Kit MK-413 MK-414 MK-438 For KM-1620/2020/163...
-

TK-3160/TK-3162 Toner Cartridge for Kyocera ECOSYS P3045d...
-

TK-6117 Toner Cartridge For Use In Kyocera ECOSYS M4125id...
-

Compatible TK1260/1261/1262/1264 Copier Toner Cartridge F...
-

Compatible Kyocera TK-8467 Toner Cartridge For TASKalfa M...
-

Photo Conductor Unit/ Drum Unit Compatible For Ricoh Afic...